4 minutes
Security and the SoloKey Hacker

About
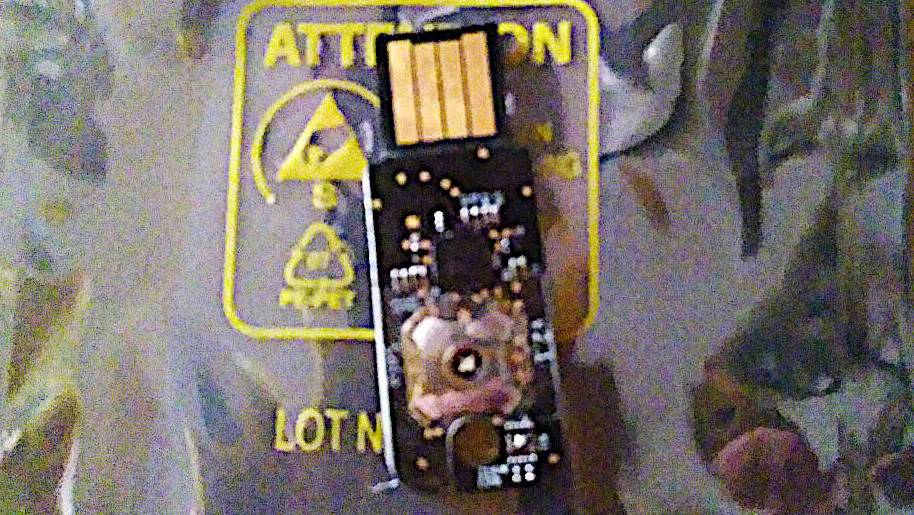
The solokey is a secure authentication device which is entirely open source. As open hardware you can create your own versions, if your electronic abilities stretch that far or if not you can get the “solokey hacker”.
The hacker edition is only need if you want to run your own firmware, if you just want a u2f / fido device for everyday use get the closed version.
What does it support
So if you’ve used a yubico key before you know, a number of sites support u2f / fido / webAuthen. I will specify a few sites you can use it with:
- github
- gitlab
- nextcloud
That’s just a couple, there are a lot of servers where security is paramount and that means they will usually support your key too.
If you’re running a *nix device, things are even better, you can use it for passwordless sudo, second factor login, you can even use it with special ssh keys but at the moment support for those keys in github and gitlab are lacking. You can read more about it here
Hacking the Solo
Okay, so that’s the overview done lets start modifying our key. I’m going to assume you’re on *nix but you should be able to follow along on windows too but it may not be as simple.
Get the source
git clone --recurse-submodules https://github.com/solokeys/solo.git
Docker
You can use native tools to build your firmware but I’m using Arch/Manjaro and found the conflicts too difficult to overcome. If you’re using Ubuntu or Debian you may find it easier but for simplicity lets stick to the docker technique.
First build the docker image:
make docker-build-toolchain
It will take some time to build the docker image but afterwards you’ll be ready to build your firmware.
make docker-build-all
Note: You may need to execute the previous two commands as sudo if you haven’t added your account to the docker group.
The Output
ls build/
The firmware and the bootloader images are in the build folder, the files marked *.hex. You will also find a bundle image containing both the bootloader and the fimware in one image.
You will also see that there is some debug firmwares, marked “1” & “2”. “1” will allow you to listen to your key on a serial connection such as screen, “2” will force the device to only work while the tty is active.
Since this is our first time to do this we are going to use the bundle, bootloader+firmware
Flash
You will need to use the solo tool to flash, so install with
pip3 install solo-python
Now because we are going to replace both the firmware and bootloader we’re going to enter into the DFU (Device Firmware Update). It’s recommended not to do this too often as you could brick your device but we are using the stock code so we should be safe.
solo program aux enter-bootloader

solo program aux enter-dfu
Now we are going to flash the device with the bundle.hex, (your bundle may be named slightly different but will contain something like *bundle*.hex)
solo program dfu bundle.hex
Finally all going well we leave the dfu
solo program aux leave-dfu
Modifying the Source
I’m a man of simple needs so all I’m going to show you is how to change the led color to my favourite colour, blue.
Edit pc/app.h
nano pc/app.h
The source will have the following line
#define LED_INIT_VALUE 0x000800
That’s Red/Green/Blue, so change it to the following:
#define LED_INIT_VALUE 0x000008
Now go back to the previous steps and build using docker once more.
The second flash
This time we don’t need to flash the bootloader so we’re not going to use the bundle just the firmware image.
solo program aux enter-bootloader

solo program bootloader firmware.hex

solo program aux leave-bootloader
Your key should now glow a healthy shade of blue and all is right with the world.
SSH & Git
This is an addition to the original article, just to note that github now supports a secuirity key in combination with a ssh key.
This is great and swift progress, hopefully gitlab will follow suit.
Edits
- 2021-05-19 - Added Github’s security key article.